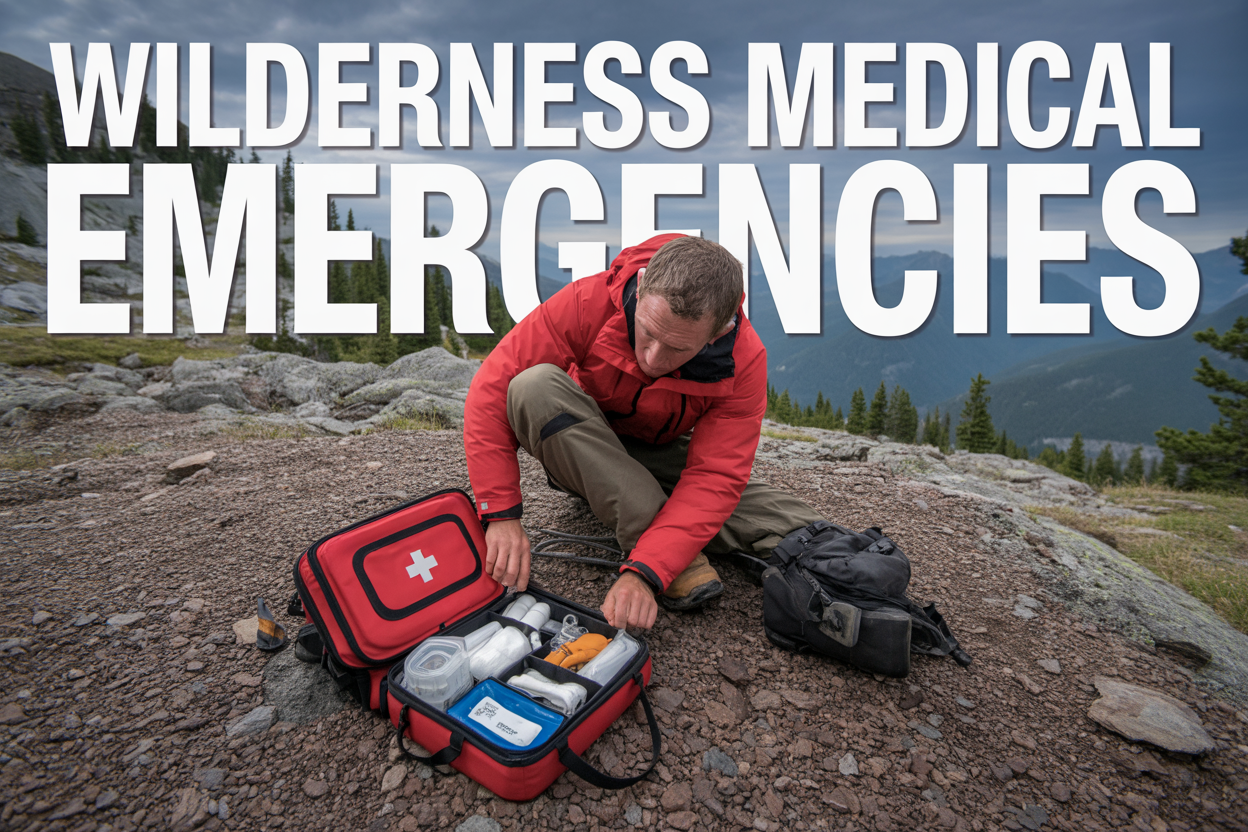
When you’re miles from the nearest hospital, medical emergencies in the wilderness can quickly turn deadly. This comprehensive guide equips outdoor enthusiasts, backcountry guides, and adventure travelers with life-saving knowledge for handling medical crises in remote locations.
Getting hurt or sick in the wilderness presents unique challenges that standard first aid training doesn’t cover. You’ll need specialized skills, the right gear, and clear emergency protocols to keep yourself and others alive when professional help is hours or days away.
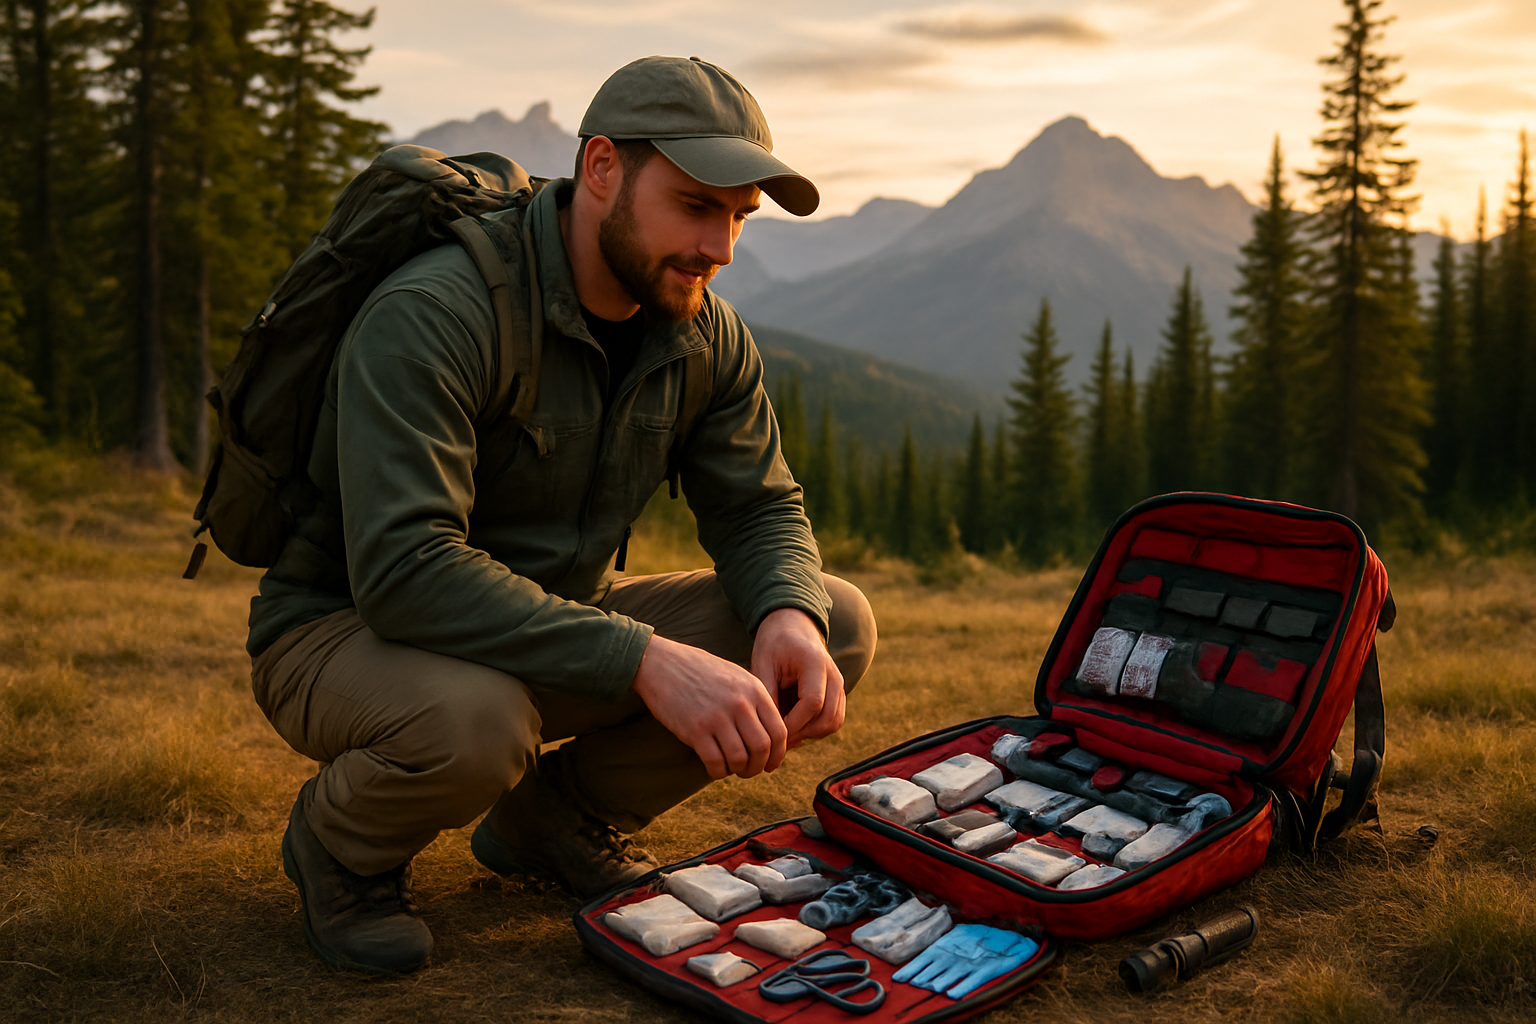
This guide walks you through building a proper wilderness medical kit with components specifically chosen for backcountry emergencies. You’ll learn how to recognize and respond to life-threatening situations like severe bleeding, hypothermia, and altitude sickness when every minute counts. We’ll also cover proven techniques for treating common wilderness injuries and illnesses using limited supplies and improvised tools.
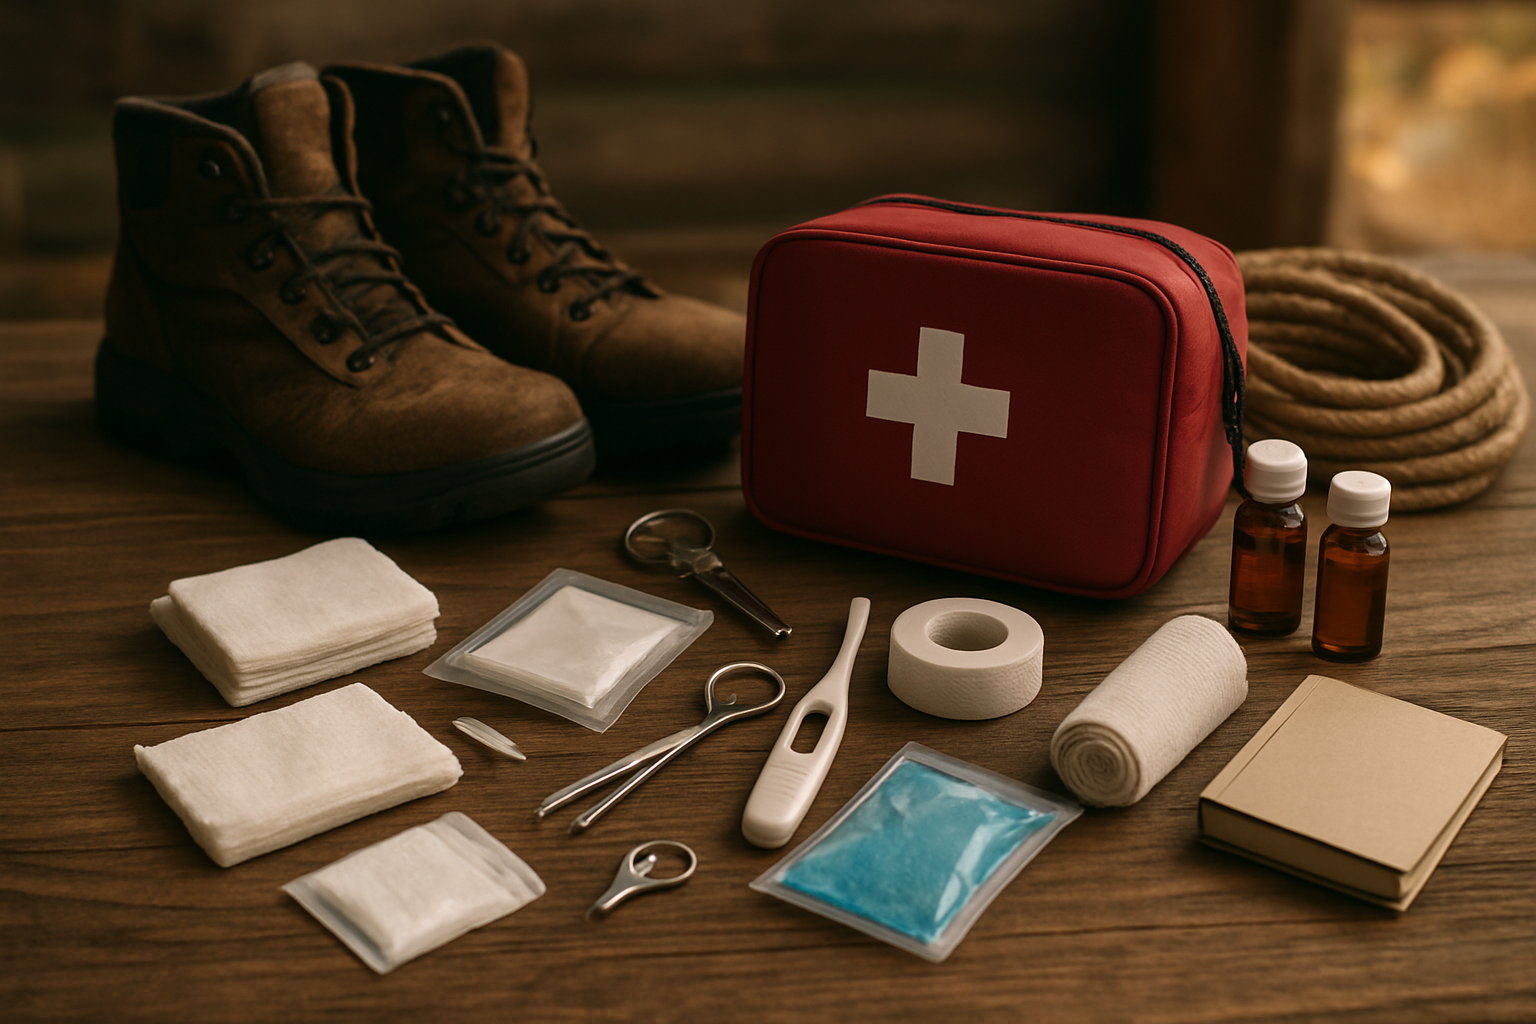
Table of Contents
ToggleLife-saving medications and their proper storage
Critical medications can mean the difference between a minor setback and a life-threatening emergency in remote locations. Your wilderness medical kit should include epinephrine auto-injectors for severe allergic reactions, even if no one in your group has known allergies. Anaphylaxis can develop suddenly from insect stings, unknown food allergens, or medications.
Prescription medications deserve special attention. Pack extra doses of any critical prescriptions your group members rely on, including insulin, inhalers, and heart medications. Store these in waterproof containers with clear labeling and expiration dates. Temperature-sensitive medications like insulin require insulated storage to prevent degradation from extreme heat or cold.
Pain management medications should include both over-the-counter and prescription options. Ibuprofen reduces inflammation and fever, while acetaminophen provides pain relief without stomach irritation. For severe injuries, consider carrying prescription pain relievers, though this requires proper training and legal considerations.
Anti-diarrheal medications prevent dangerous dehydration in remote settings where clean water access is limited. Oral rehydration salts help replace lost electrolytes. Antibiotics for treating infections require medical consultation beforehand to ensure appropriate selection and dosing.
Store all medications in clearly labeled, waterproof containers with desiccant packets to prevent moisture damage. Check expiration dates before every trip and rotate stock regularly. Keep a detailed inventory list with dosages and indications for each medication.
Advanced wound care supplies beyond basic bandages
Serious wilderness injuries demand more sophisticated wound care than standard adhesive bandages can provide. Hemostatic agents like QuikClot or Celox stop severe bleeding by promoting rapid clotting. These gauze-impregnated products work even when normal clotting is impaired by cold or blood-thinning medications.
Pressure dressings control bleeding from large wounds. Israeli bandages combine gauze, pressure applicator, and securing mechanism in one compact package. Elastic wrap bandages provide compression for sprains while also securing bulky dressings over wounds.
Wound irrigation supplies prevent infection in contaminated injuries. Saline solution flushes debris from wounds more effectively than water alone. Large syringes with 18-gauge needles create adequate pressure for thorough cleaning. Betadine or chlorhexidine solutions provide antiseptic cleaning for dirty wounds.
Wound closure options range from adhesive strips for minor cuts to surgical staples for deep lacerations. Butterfly bandages pull wound edges together without sutures. Skin adhesive works well for clean, straight cuts. Suture materials require proper training but provide the strongest closure for serious wounds.
Blister management supplies prevent minor foot problems from becoming debilitating injuries. Moleskin, Second Skin, and toe caps protect hot spots before blisters form. Needle and thread allow proper blister drainage when necessary.
Diagnostic tools for accurate field assessments
Accurate assessment drives appropriate treatment decisions in wilderness medicine. A reliable thermometer identifies fever, hypothermia, or hyperthermia. Digital models work quickly and accurately in various weather conditions. Hypothermia requires special low-reading thermometers since standard versions don’t register dangerously low temperatures.
Blood pressure monitoring helps assess shock, dehydration, and cardiovascular emergencies. Manual cuffs with stethoscopes work without batteries and handle rough conditions better than electronic versions. Practice using manual equipment before your trip since technique affects accuracy.
Pulse oximeters measure blood oxygen levels and heart rate. These fingertip devices quickly identify breathing problems or altitude sickness. Look for models designed for outdoor use with bright displays readable in sunlight.
Blood glucose meters help manage diabetic emergencies. Low blood sugar can mimic head injuries or altitude sickness, making accurate diagnosis critical. Include extra test strips and lancets in waterproof storage.
Pen lights assess pupil response and examine wounds or throats. LED models last longer than traditional bulbs and resist impact damage. Include extra batteries or choose rechargeable versions with solar charging capability.
Basic diagnostic cards provide reference information for vital sign ranges, medication dosages, and emergency protocols. Waterproof reference materials reduce errors under stress when memory fails.
Communication devices for emergency coordination
Emergency communication transforms wilderness medical situations from potential disasters into manageable incidents. Satellite communicators like Garmin inReach or SPOT devices work anywhere on Earth, sending GPS coordinates with emergency messages. These devices connect directly with search and rescue services, bypassing the need for cell phone coverage.
Personal Locator Beacons (PLBs) provide dedicated emergency signaling to rescue coordination centers. These one-way devices send distress signals with precise GPS locations but require registration with emergency services beforehand. PLBs work globally and have longer battery life than satellite communicators.
Two-way satellite communicators allow ongoing conversation with emergency services and family members. This communication helps coordinate evacuation plans and provides medical consultation with remote physicians. Subscription services enable text messaging and weather updates beyond emergency use.
Cell phone signal boosters extend weak cellular coverage in marginal service areas. Portable boosters amplify weak signals that might otherwise be unusable. External antenna attachments improve reception in challenging terrain.
Amateur radio equipment provides communication when other systems fail. Handheld VHF radios work line-of-sight between group members. More powerful HF radios can reach emergency services hundreds of miles away. Radio operation requires licensing but provides reliable backup communication.
Whistle signals travel farther than shouting and require less energy. Three sharp blasts indicates distress in most regions. Attach whistles to life jackets and keep backup whistles in medical kits.
Identifying Signs of Severe Allergic Reactions and Anaphylaxis
When someone experiences a severe allergic reaction in the wilderness, minutes matter. Anaphylaxis can kill within 15 minutes, so recognizing the early warning signs becomes critical for survival.
Watch for rapid onset of symptoms affecting multiple body systems. The skin often shows the first signs: widespread hives, intense itching, or sudden swelling around the face, lips, and tongue. However, don’t wait for skin symptoms – they’re absent in about 20% of anaphylactic reactions.
Breathing difficulties develop quickly and can be terrifying. Listen for wheezing, gasping, or a tight, hoarse voice. The person might say their throat feels like it’s closing. Their breathing may become rapid and shallow as their airways constrict.
Cardiovascular symptoms include a racing heart followed by a sudden drop in blood pressure. The person may feel dizzy, weak, or confused. Their skin might turn pale or blue, especially around the lips and fingertips.
Gastrointestinal symptoms like severe cramping, nausea, vomiting, or diarrhea often accompany anaphylaxis. Some people describe a sense of impending doom – a psychological symptom that shouldn’t be ignored.
Administer epinephrine immediately if available. Use an auto-injector into the outer thigh muscle, even through clothing. Don’t hesitate – you can’t overdose someone experiencing anaphylaxis. Call for evacuation while keeping the person lying flat with legs elevated unless they’re having trouble breathing, in which case allow them to sit upright.
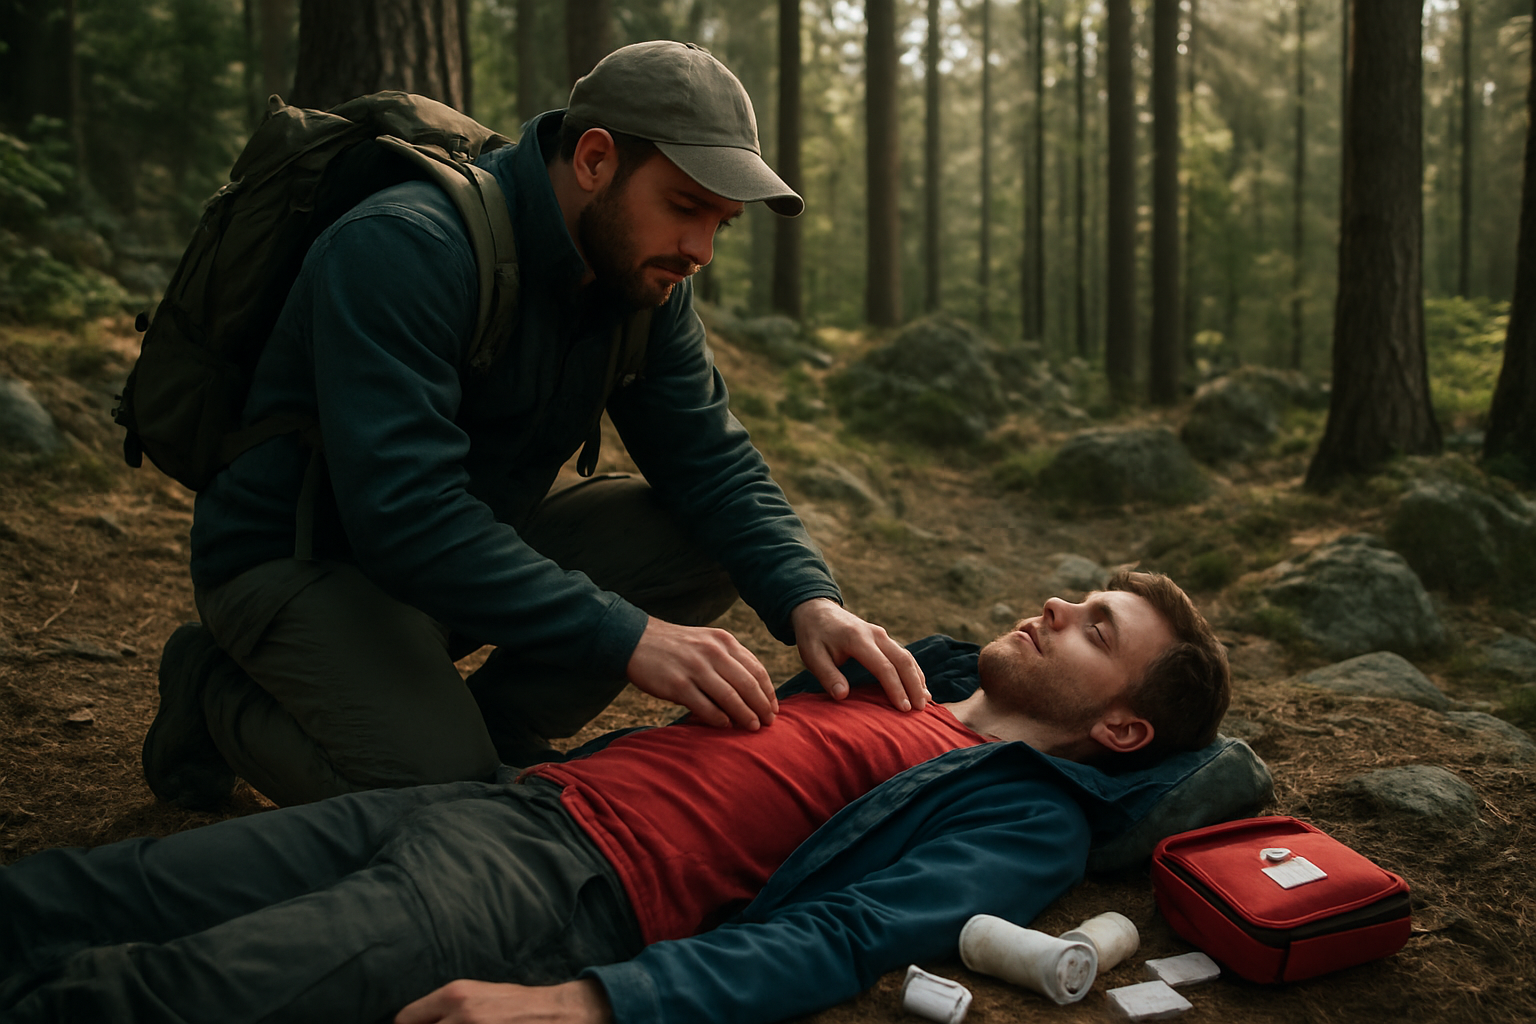
Managing Cardiac Events in Remote Locations
Cardiac emergencies in remote areas present unique challenges where definitive care is hours away. Quick recognition and proper response can mean the difference between life and death.
Heart attacks don’t always present with classic chest pain. Watch for pressure, squeezing, or burning sensations in the chest that may radiate to the arms, neck, jaw, or back. Shortness of breath, sudden fatigue, nausea, or cold sweats can signal cardiac trouble, especially in people over 40 or those with risk factors.
Start with immediate assessment of consciousness and breathing. If the person is unresponsive and not breathing normally, begin CPR immediately. Push hard and fast in the center of the chest at least 2 inches deep and 100-120 compressions per minute. Don’t stop to check for a pulse – continue until help arrives or the person recovers.
For conscious cardiac patients, have them chew and swallow aspirin if they’re not allergic – 325mg or four baby aspirins. This can help break up blood clots forming in coronary arteries. Keep them calm and in a position of comfort, usually sitting upright.
Create a plan for evacuation immediately. Cardiac patients need advanced medical care that wilderness first aid cannot provide. While waiting for rescue, monitor vital signs closely and be prepared to start CPR if their condition deteriorates. Keep them warm and provide reassurance, as anxiety can worsen cardiac symptoms.
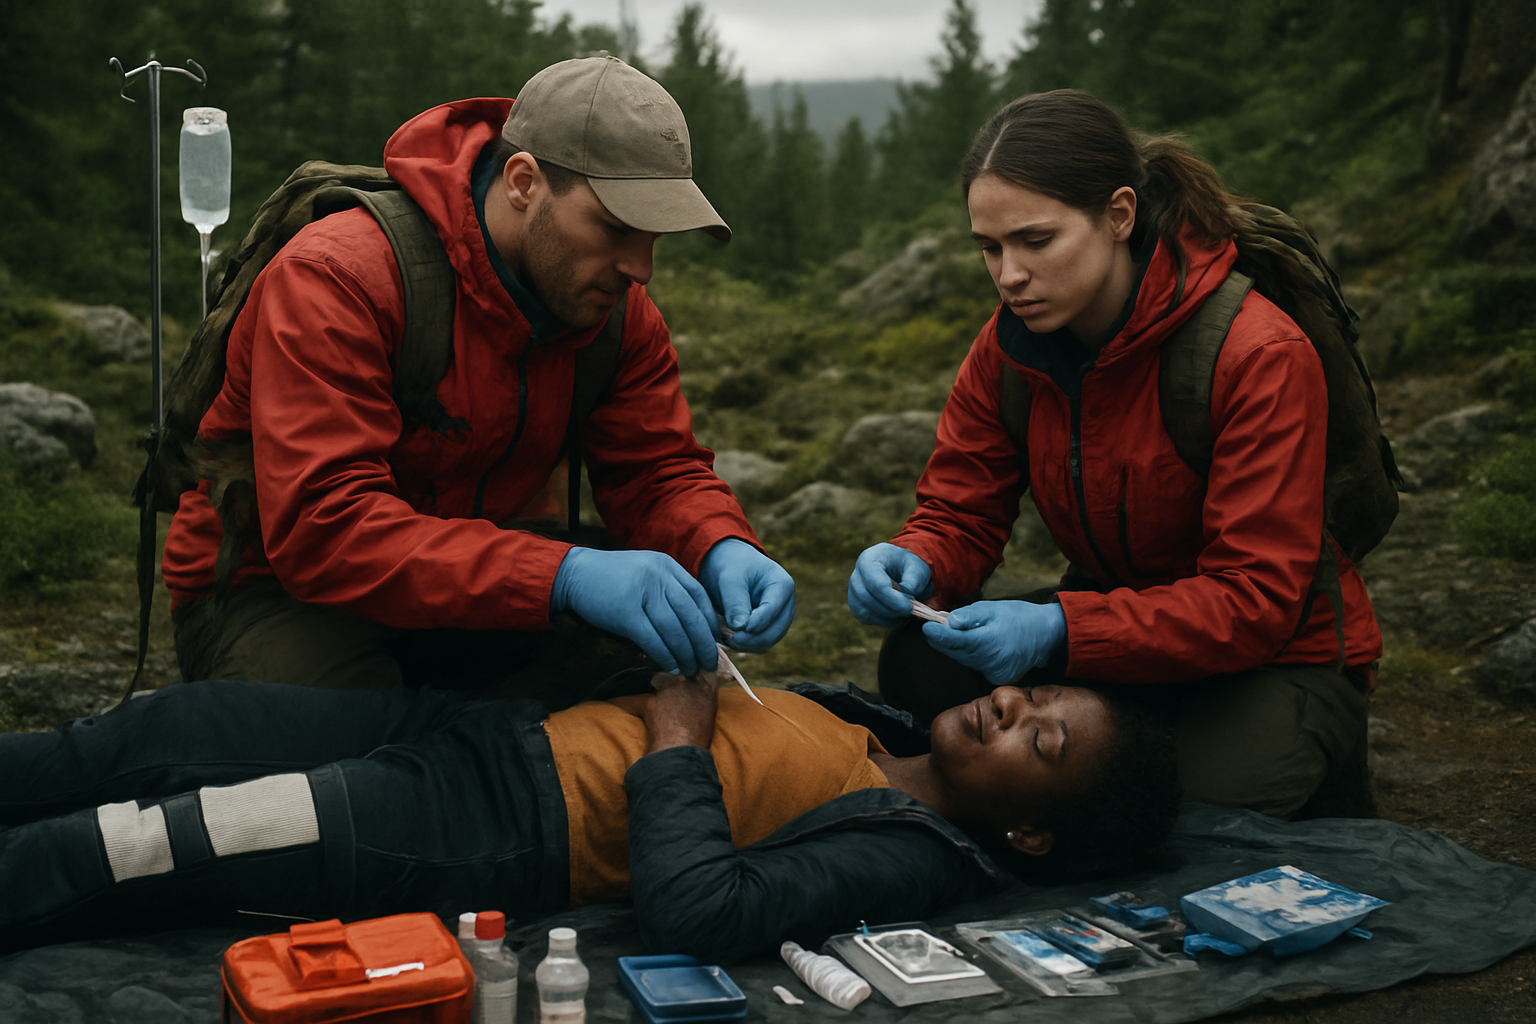
Responding to Severe Bleeding and Traumatic Injuries
Massive bleeding kills faster than any other wilderness emergency. Your primary goal is stopping the bleed using whatever means necessary, working through a systematic approach.
Direct pressure remains your most effective tool. Place clean cloth, gauze, or even clothing directly on the wound and press firmly. Don’t remove blood-soaked material – add more layers on top and continue pressure. If the wound is on an arm or leg, elevate the injured limb above heart level while maintaining pressure.
When direct pressure fails to control arterial bleeding, consider pressure points. Press firmly on the brachial artery for arm wounds (inside of the upper arm) or the femoral artery for leg wounds (groin area where the leg meets the body). Hold pressure for several minutes.
For severe extremity bleeding uncontrolled by other measures, apply a tourniquet 2-3 inches above the wound. Use a wide band at least 1.5 inches wide – never use rope, wire, or narrow materials that can cause tissue damage. Tighten until bleeding stops, mark the time of application, and don’t remove it in the field.
Treat for shock by laying the person flat, elevating their legs 6-12 inches, and covering them with insulation to maintain body temperature. Monitor breathing and consciousness continuously. Give small sips of water only if the person is conscious and not vomiting.
Document the injury mechanism, treatments applied, and any changes in condition. This information proves vital for incoming medical teams and helps guide further treatment decisions during evacuation.
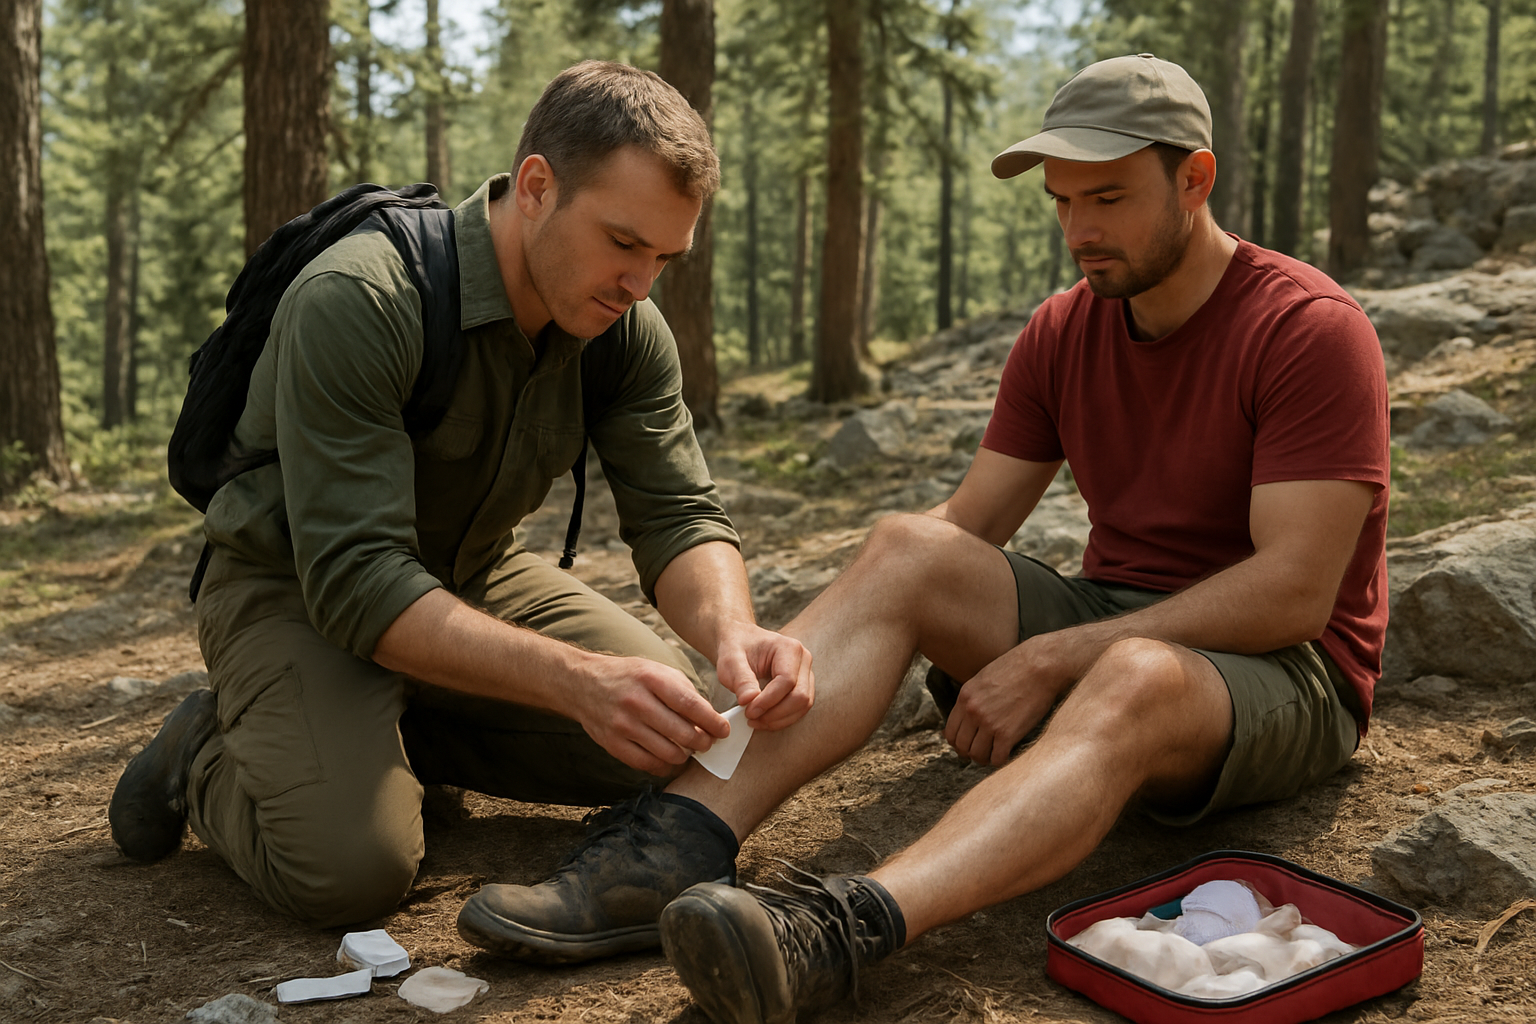
Managing fractures and sprains without immediate medical access
When you’re miles from help and someone takes a bad fall, your quick assessment skills become critical. Start by checking for open wounds, obvious deformity, or bones protruding through skin – these require immediate attention and evacuation planning.
For suspected fractures, immobilize the injured area using whatever materials you have. Trekking poles make excellent splints, while sleeping pads can provide cushioning. Secure the splint above and below the injury site using bandages, duct tape, or torn clothing strips. The key is preventing movement that could worsen nerve or blood vessel damage.
Sprains need a different approach. Apply the RICE protocol: Rest, Ice (cold water from streams works), Compression with elastic bandages, and Elevation when possible. Wrap snugly but not so tight that circulation gets cut off – you should be able to slip a finger under the bandage.
Watch for signs of compromised blood flow like numbness, tingling, or color changes in fingers and toes. If these symptoms appear, loosen your bandaging immediately. Pain medication helps, but remember that masking pain completely might lead to further injury during evacuation.
Treating burns from campfires and equipment malfunctions
Burns happen fast around camp – a spark from the fire, contact with hot cookware, or malfunctioning camp stoves can cause serious injuries. Your immediate response determines the outcome.
Cool the burn area with clean, cold water for at least 20 minutes. Don’t use ice directly on skin, as this can cause additional tissue damage. Remove jewelry or tight clothing near the burn before swelling begins, but don’t peel off anything stuck to the burn.
Classify the burn severity:
- First-degree: Red skin, mild pain, no blistering
- Second-degree: Blistering, severe pain, possible skin loss
- Third-degree: White or charred skin, little to no pain due to nerve damage
First-degree burns can be treated with aloe vera or cool compresses. Second-degree burns need gentle cleaning with soap and water, followed by antibiotic ointment and loose bandaging. Never pop blisters – they protect against infection.
Third-degree burns require immediate evacuation. Cover with clean, dry cloth and treat for shock. Don’t apply ointments or attempt to clean these severe burns in the field.
Addressing hypothermia and heat-related emergencies
Temperature-related emergencies can sneak up on you, especially during weather changes or high-altitude adventures. Recognizing early symptoms saves lives.
Hypothermia develops in stages. Mild hypothermia shows as uncontrolled shivering, clumsiness, and poor decision-making. The person might seem confused or apathetic about their condition. Remove them from cold exposure immediately, replace wet clothing with dry layers, and provide warm drinks if they’re conscious and alert.
Severe hypothermia is life-threatening. Shivering stops, skin appears blue or gray, and the person becomes disoriented or unconscious. Handle them gently – rough movements can trigger dangerous heart rhythms. Insulate them completely and share body heat through skin-to-skin contact inside a sleeping bag.
Heat exhaustion presents with heavy sweating, weakness, nausea, and headache. Move the person to shade, remove excess clothing, and cool them with wet cloths while encouraging small sips of water. Fan them to increase evaporation.
Heat stroke is a medical emergency. The person stops sweating, skin becomes hot and red, and mental confusion occurs. Cool them aggressively with whatever water you have while preparing for immediate evacuation.
Handling poisonous plant exposures and insect stings
Plant exposures like poison ivy, oak, or stinging nettle require immediate action. Rinse the affected area with cold water to remove plant oils before they bond with skin. Don’t use hot water – it opens pores and drives the irritants deeper.
If you have soap, use it gently without scrubbing hard. Remove contaminated clothing carefully and wash your hands thoroughly. Apply cool compresses to reduce itching and inflammation. Antihistamines help manage allergic reactions.
Insect stings usually cause localized pain and swelling. Remove stinger by scraping with a credit card edge – don’t squeeze with tweezers, which pushes more venom into the wound. Clean the area and apply ice to reduce swelling.
Watch for signs of severe allergic reactions: difficulty breathing, widespread rash, swelling of face or throat, rapid pulse, or dizziness. These symptoms indicate anaphylaxis – a life-threatening emergency requiring immediate epinephrine injection if available and rapid evacuation.
Multiple bee or wasp stings can overwhelm the body’s systems even without allergies. Monitor for nausea, vomiting, diarrhea, or confusion – signs that require medical attention.
Managing altitude sickness and respiratory distress
Altitude sickness affects many people above 8,000 feet, though it can occur lower depending on individual sensitivity and ascent rate. Early recognition prevents dangerous progression.
Mild altitude sickness feels like a hangover – headache, nausea, fatigue, and difficulty sleeping. The person should stop ascending and rest at their current elevation. Hydration and pain relievers help, but avoid alcohol and sleeping pills which can worsen oxygen problems.
High Altitude Pulmonary Edema (HAPE) is serious. Look for extreme fatigue, shortness of breath at rest, gurgling sounds in the chest, and pink or frothy sputum. The person needs immediate descent and oxygen if available.
High Altitude Cerebral Edema (HACE) affects the brain. Symptoms include severe headache, confusion, loss of coordination, and possible hallucinations. Test coordination by having them walk a straight line – inability to do this indicates immediate evacuation needs.
For any respiratory distress, position the person upright to ease breathing. Assess whether they can speak in full sentences – if not, their breathing is severely compromised. Remove tight clothing around the neck and chest area.
Create a calm environment since panic worsens breathing problems. If someone has a rescue inhaler, help them use it properly. Count respiratory rate – normal is 12-20 breaths per minute at rest.
Performing Emergency Airway Management Procedures
When someone’s airway becomes blocked in the wilderness, you have minutes to act before brain damage occurs. The head-tilt, chin-lift maneuver remains your first line of defense for unconscious patients. Place one hand on the forehead, tilt the head back gently, then lift the chin with two fingers under the jawbone. This simple technique often clears soft tissue obstructions.
For conscious choking victims, the Heimlich maneuver works effectively in outdoor settings. Position yourself behind the person, place your hands just above the navel, and deliver firm upward thrusts. If they become unconscious, immediately begin chest compressions and check for visible obstructions after every 30 compressions.
Creating an emergency airway requires extreme caution and should only be attempted when all other methods fail and death is imminent. A cricothyrotomy involves making a small incision through the skin and cricothyroid membrane below the Adam’s apple. Use the sharpest, cleanest blade available, make a horizontal cut about half an inch wide, and insert a hollow tube like a pen barrel or straw to maintain the opening.
Recovery positioning becomes critical once you establish breathing. Turn unconscious patients onto their side with the top leg bent and head supported to prevent aspiration if vomiting occurs. Monitor breathing constantly and be prepared to reposition if airway sounds become labored.
Administering Medications Safely in Wilderness Settings
Proper medication administration in remote locations demands careful attention to dosing, timing, and contraindications. Always verify the patient’s identity, allergies, and current medications before giving anything. Double-check dosages using body weight calculations when dealing with pain medications or epinephrine.
Injectable medications like epinephrine auto-injectors require specific techniques in outdoor conditions. Remove safety caps, hold the device firmly against the outer thigh, and press until you hear the click. Hold for 10 seconds to ensure full dose delivery. Mark the injection site and time on the patient’s forehead with a pen for medical personnel.
Oral medications present unique challenges when patients are nauseous or semi-conscious. Crush pills between two spoons if swallowing difficulties exist, but never crush time-release or enteric-coated medications. For liquid medications, use the buccal route by placing drops between the cheek and gum for absorption.
Storage considerations become critical in extreme temperatures. Keep medications in insulated containers to prevent freezing or overheating. Insulin and epinephrine lose potency rapidly in temperature extremes. Check expiration dates regularly and rotate stock in your medical kit.
Document everything you administer, including time, dose, route, and patient response. This information proves invaluable for evacuation teams and emergency room staff.
Creating Improvised Medical Equipment from Available Resources
Your survival depends on transforming everyday items into life-saving medical equipment. Backpack frames make excellent spine boards for suspected spinal injuries. Secure the patient with climbing rope or clothing strips, maintaining head and neck alignment throughout the process.
Trekking poles convert into effective splints for broken bones. Pad them with extra clothing, then secure with bandages, rope, or even shoelaces. For finger fractures, popsicle sticks from energy bars work perfectly when padded and taped in place.
Creating pressure bandages from available materials can control severe bleeding. Sanitary pads make excellent trauma dressings due to their absorbent design. Secure them with duct tape, torn clothing strips, or paracord. For tourniquets, use a wide piece of fabric with a stick as a windlass, but never apply for more than two hours without loosening.
Water bottles serve multiple medical purposes beyond hydration. Fill them with hot water for hypothermia treatment, or use empty bottles as collecting devices for urine samples. Large bottles can become improvised suction devices for wound cleaning when filled and inverted quickly.
Sleeping bags provide excellent insulation for shock patients or hypothermia victims. Reflective emergency blankets redirect body heat when placed shiny side toward the patient. Even plastic garbage bags can serve as vapor barriers to retain body heat in emergency situations.
Duct tape fixes nearly everything, including medical equipment. Use it to secure bandages, create butterfly closures for small cuts, or even fashion emergency splints when combined with sticks or poles.
Determining When Self-Rescue Versus Professional Evacuation is Appropriate
Making the right evacuation decision can mean the difference between a successful rescue and a tragedy. The golden rule: when in doubt, call for help. But understanding the factors that guide this decision helps you make better choices in critical moments.
Self-rescue works best when:
- The injured person can walk or assist in their own movement
- Weather conditions are stable and favorable
- You have clear knowledge of the route back to safety
- The group has sufficient resources and experience
- Medical conditions are stable and not life-threatening
- Distance to trailhead is manageable (typically under 3-4 hours)
Professional evacuation becomes necessary when:
- Spinal injuries are suspected
- Severe trauma with heavy bleeding or shock
- Unconsciousness or altered mental status
- Hypothermia or heat stroke
- Cardiac events or breathing difficulties
- Fractures that prevent weight-bearing
- Weather conditions make travel dangerous
- Group lacks experience for technical rescue
Time sensitivity plays a major role. Internal bleeding, severe allergic reactions, and cardiac events demand immediate professional response. A broken ankle might allow for careful self-evacuation if conditions permit, but a head injury with confusion requires helicopter evacuation.
Consider your group’s capabilities honestly. Carrying an injured person over rough terrain exhausts rescuers quickly and can worsen injuries. Factor in daylight remaining, weather forecasts, and communication capabilities when making this critical decision.
Coordinating with Search and Rescue Teams Effectively
Your first contact with search and rescue sets the tone for the entire operation. Clear, calm communication saves precious time and ensures responders understand exactly what they’re walking into.
Essential information to provide immediately:
- Your exact location with GPS coordinates if available
- Nature and severity of injuries
- Number of people in your group
- Current weather conditions at your location
- Available landing zones for helicopters
- Any immediate dangers or hazards
Use the SOAP format when describing injuries: Subjective (what the patient says), Objective (what you observe), Assessment (your evaluation), and Plan (what you’re doing). This medical shorthand helps rescue teams prepare appropriate equipment and personnel.
Stay calm and speak clearly. Emergency dispatchers are trained to gather information systematically. Answer their questions directly without adding unnecessary details that can confuse the situation. If you lose cell service, try moving to higher ground or different locations for better signal strength.
Before hanging up, confirm:
- Rescue team’s estimated arrival time
- Whether you should stay put or move to a better location
- Any specific preparations they need you to make
- How they’ll communicate updates
- What to do if conditions change
Keep your phone charged and designate one person as the primary communicator. Multiple people calling with conflicting information creates confusion and delays response time.
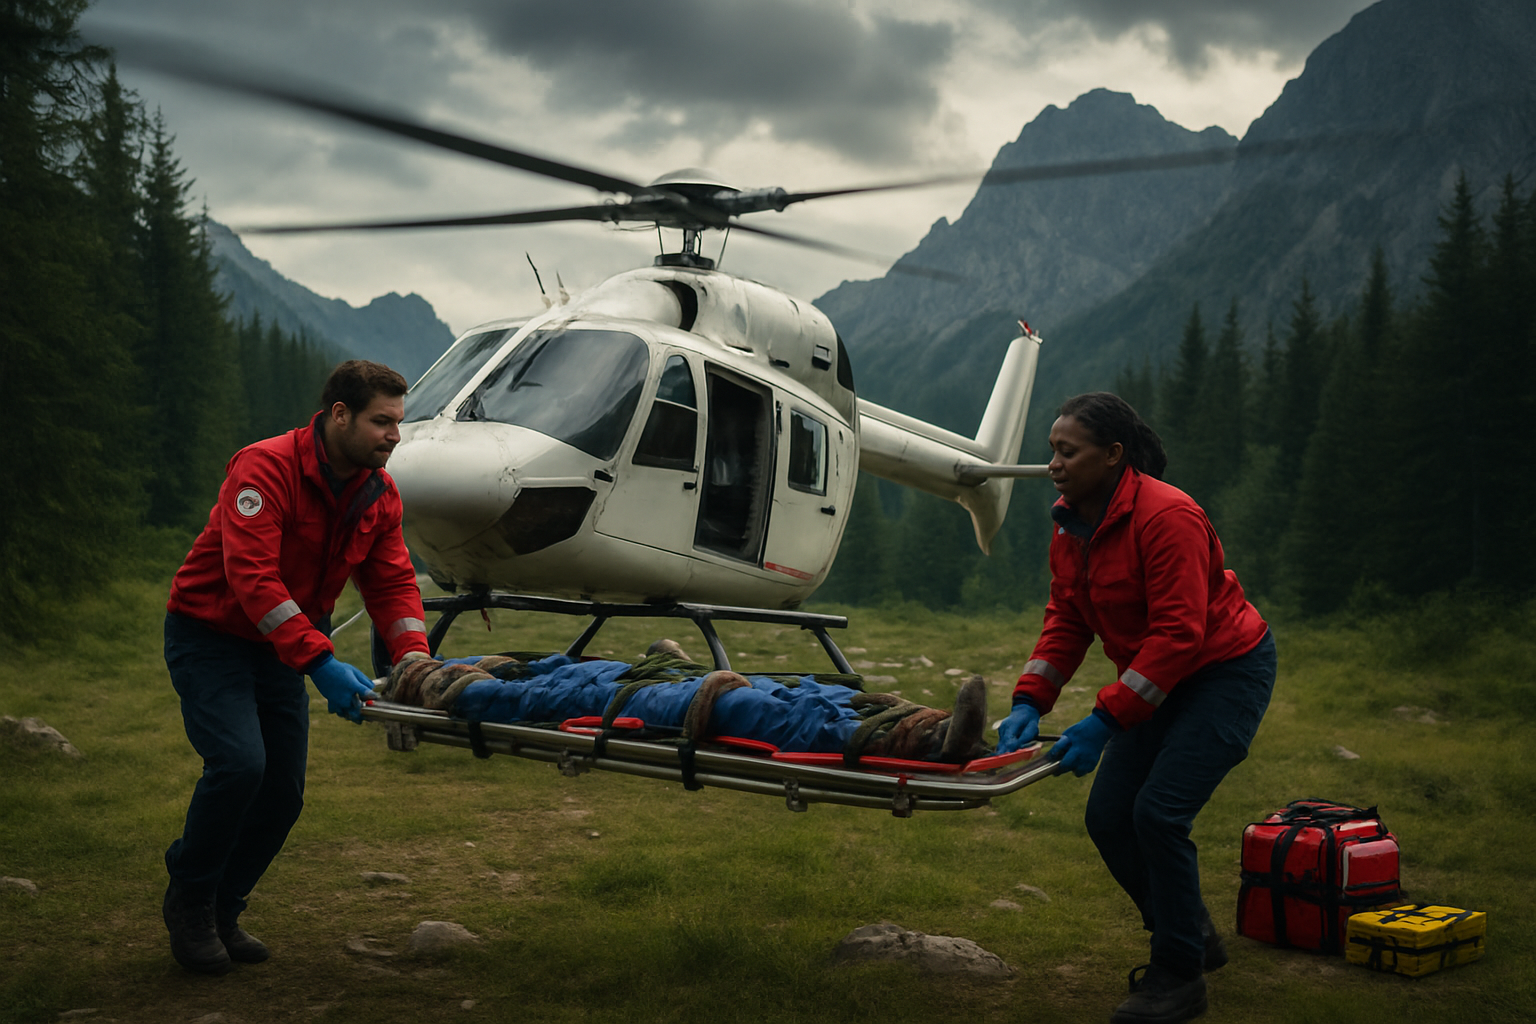
Preparing Patients for Helicopter or Ground Evacuation
Proper patient preparation prevents complications during evacuation and helps medical teams work efficiently. Your preparation directly impacts patient outcomes and rescue team safety.
For helicopter evacuations:
- Clear a landing zone at least 100 feet in diameter
- Remove loose items that rotor wash might blow around
- Mark the landing zone with bright clothing or gear
- Never approach the helicopter unless signaled by crew
- Secure all medical equipment to prevent it from flying away
- Have patient packaged and ready for immediate loading
Patient positioning matters:
- Spinal injury patients stay immobilized on backboards
- Hypothermic patients need insulation maintained during transport
- Shock patients should have legs elevated if spinal injury isn’t suspected
- Unconscious patients need airway positioning maintained
- Bleeding must be controlled before movement
Ground evacuation preparation:
- Create a clear path for wheeled litters when possible
- Gather extra hands for carrying operations
- Protect patient from weather during extended transport
- Monitor vital signs throughout the process
- Communicate any changes to rescue teams immediately
Package patients thoroughly before rescuers arrive. This means complete immobilization for spinal injuries, proper splinting for fractures, and adequate insulation for temperature-related emergencies. Rescue teams can modify your work, but solid preparation prevents delays and complications.
Documenting Injuries and Treatments for Medical Handoff
Accurate documentation ensures continuity of care and provides vital information for hospital treatment. Your field notes become part of the patient’s medical record and can influence treatment decisions.
Document systematically:
- Time of injury and mechanism (how it happened)
- Initial patient condition and vital signs
- All treatments provided with exact times
- Patient’s response to each intervention
- Changes in condition during care
- Medications given, including doses and times
Create a timeline format:
14:30 - Patient fell 15 feet, landed on back
14:35 - Found conscious, complained of back pain
14:40 - Immobilized on backboard
14:50 - Vital signs: BP 120/80, HR 88, respirations 16
15:20 - Given ibuprofen 400mg for pain
15:45 - Vitals stable, pain decreased to 6/10
Include specific details:
- Exact mechanism of injury
- Loss of consciousness duration
- Allergies and current medications
- Pre-existing medical conditions
- Environmental factors affecting treatment
Use simple, clear language that medical professionals understand. Avoid speculation about diagnoses, but describe exactly what you observed and did. Note any improvement or deterioration in the patient’s condition.
Keep documentation dry and legible. Write in pen if possible, or use waterproof paper. Take photos of injuries if appropriate and conditions allow, but always prioritize patient care over documentation.
Hand this information directly to the first medical professional who takes over care. Brief them verbally on the key points while they review your written notes. This handoff moment is critical – clear communication prevents important details from getting lost in the transition.
When you’re deep in the wilderness, miles from the nearest hospital, your knowledge and preparation can mean the difference between a minor setback and a life-threatening situation. Having the right medical supplies, knowing how to spot serious emergencies, and being able to treat everything from cuts to hypothermia gives you the confidence to explore safely. The skills you develop in field medicine aren’t just about fixing problems—they’re about preventing small issues from becoming big ones.
Don’t wait until you’re facing an emergency to think about wilderness medicine. Start building your medical kit today, practice these techniques at home, and consider taking a wilderness first aid course. Your next adventure should be about creating amazing memories, not dealing with preventable medical crises. The wilderness is waiting for you—make sure you’re ready for whatever it throws your way.